 |
| Galangal - taller than me & outgrowing it's bag |
One of the constraints of growing plants on a balcony (self-imposed, no doubt) is that they need to be nice to look at as it's the main view from the living room... that's why I gave up with the tomato plants I had because they looked a mess! I also hide my lemongrass plant in the corner because otherwise it looks like I'm growing "lalang"! The galangal plant was starting to look rather wild - I had never harvested any of it since I planted it in summer last year. (I started the plant by simply saving some of the supermarket bought rhizomes and putting them in some earth. After a while they produced shoots... If you are in Hong Kong, it's probably better to buy the rhizomes from the small Thai shops in the markets than using the ones from the supermarket as the latter have had all their "buds" cut off.)
 |
| First shoots of Galangal and Turmeric in July 2011. Think the Galangal is on the left. |
The bag it was in was beginning to be stretched to it's limits and looking inside on the sides, the new shoots were running out of space.
 |
| Stems packed together - running out of space for new shoots... |
 |
| New shoots starting to press against the side of the bag. |
Only problem was, I wasn't sure which direction the rhizomes (underground storage stems - not roots!) were going. So it started off a bit like an archaeological dig, slowly removing soil but without damaging what was growing in it...
 |
| Treasure hunt! |
After working out where the underground stems were and deciding where to cut them, I used a sharp kitchen knife, stuck it in the soil and cut threw whatever was there... Galangal is a lot tougher than ginger so it was quite hard work! After lots of huffing and puffing and wrestling with the plant I finally got part of it out!
 |
| I love the pink colour of the young shoots |
 |
| Close up |
As you can see, it's a bit of a tangled mess of rhizomes and roots and it took a lot of careful cleaning away of the soil and pruning off the roots...
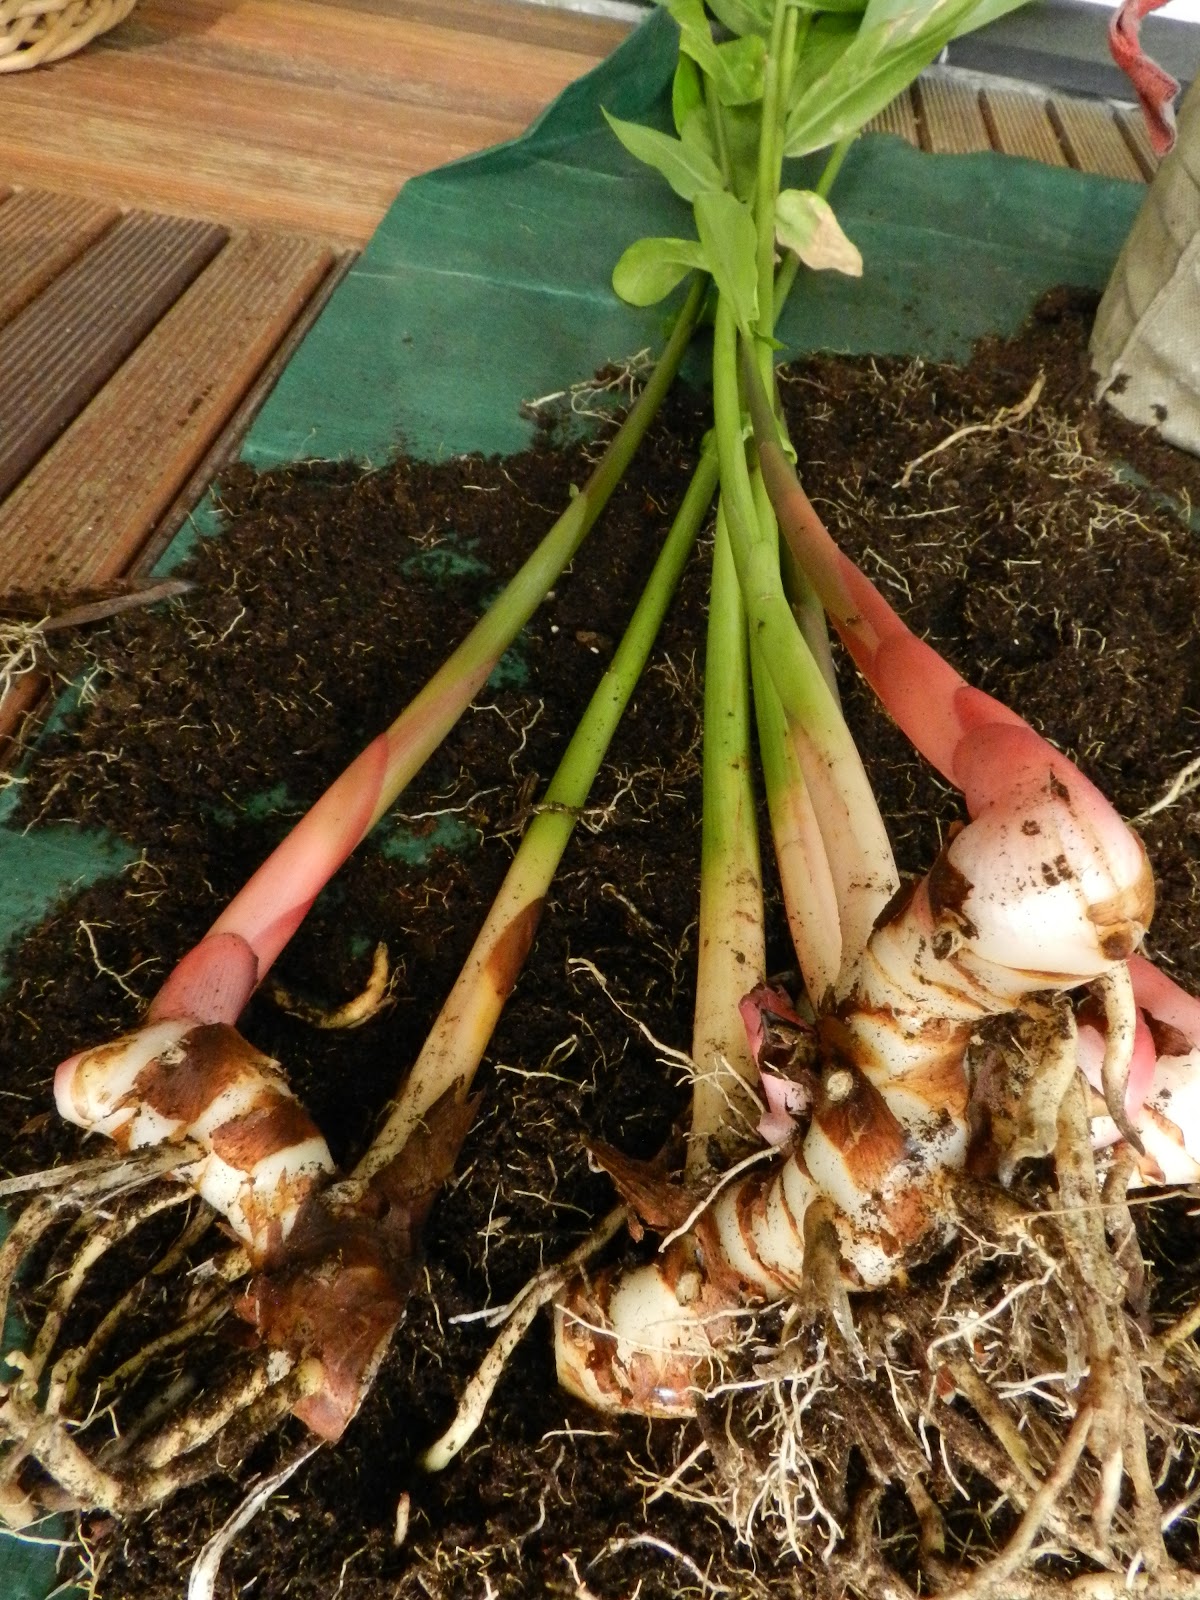 |
| Soil cleaned away to reveal roots growing off the rhizomes |
 |
| After pruning off the roots, the young rhizomes are revealed. The young bits are a whiter colour. |
 |
| The "older" rhizomes - slightly more yellow in colour but not as yellow as normal ginger |
 |
| A comparison of the old (R) & young (L) galangal |
The old galangal is what I see in the supermarket... have not checked the difference in flavour yet. It's probably the same as with normal ginger - the older stems have a more concentrated flavour but are more fibrous and less juicy...
 |
| The complete Galangal harvest |
 |
| The harvesting in progress - a toothbrush is a handy tool to remove the earth... |
After finishing with the Galangal, I decided to do the same with the ginger as yet again, it was beginning to deform the shape of the pot with the new shoots pushing outwards...
 |
| The pot has been re-shaped by the ginger! |
 |
| The bits which were dug out... |
 |
| After cleaning up... |
 |
| A ginger bud which was part of the section cut off |
 |
| Before cutting off the leaves |
 |
| A good day's work! L-R Young ginger, young galangal, old galangal |
 |
| Packaged for the fridge |
It was quite sad to have to cut off the leaves and throw them away... As the normal ginger leaves are very fragrant, I decided to keep them to experiment with wrapping food for steaming or grilling in them... the rest of it - mostly the galangal leaves, were thrown away.
 |
| What a waste! |
I was toying with starting to compost after reading a very interesting blog on composting in Singapore. I showed "the boss" the bag of waste and suggested I start composting - got a very worried, unconvinced look. So sadly, threw out the leaves... will have to work on this idea a bit more....
No comments:
Post a Comment